How to Prevent Acrylic Flashback When Cutting With the xTool P2 CO2 Laser
How to Prevent Acrylic Flashback When Cutting With the xTool P2 CO2 Laser
Creatives! 🙌 Let's talk about something that can be frustrating when cutting acrylic with a CO₂ laser: FLASHBACK!
You know those little marks that sometimes appear on the underside of your acrylic after cutting? Yep, those! 😂
I decided to do some acrylic testing on my xTool P2 55W CO₂ laser to see how much of a difference raising the acrylic off the honeycomb bed would make.
And let me tell you, it made a difference!
What Causes Flashback When Laser Cutting Acrylic?
Flashback happens when laser energy and reflections from the cutting bed affect the underside of your acrylic, leaving unwanted marks.
When you're trying to create a beautiful, clean acrylic project, those little marks aren't exactly what you want to see!
Fortunately, there are ways to reduce them.
My xTool P2 Acrylic Cutting Test
I started by placing a piece of unmasked acrylic scrap directly onto the honeycomb bed.
Oops! 😂
As expected, I got flashback marks on the underside of the acrylic. I lovingly refer to them as tick marks.
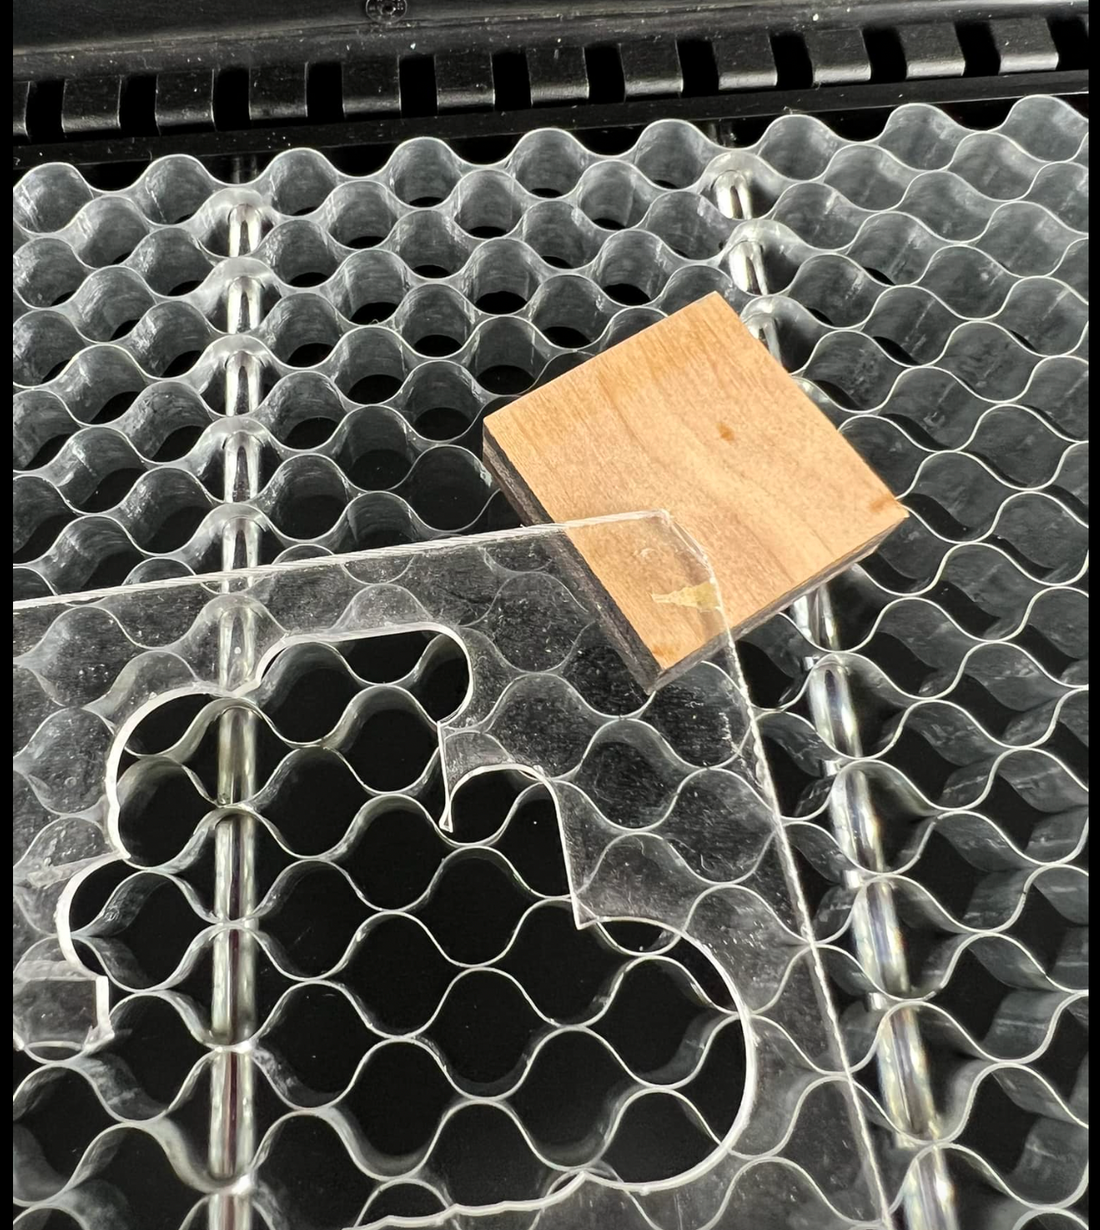
For my second test, I raised the acrylic off the honeycomb using some scrap pieces as supports.
The result? No visible flashback! 🙌
The cut was smooth, and the edges were very clear.
Sometimes the simplest adjustments make the biggest difference!
How to Reduce Flashback When Cutting Acrylic
One thing I've learned from working with CO₂ lasers is that how you position your material can make a difference in your finished project.
Here are a few things to keep in mind:
-
Raise your acrylic: Keeping the material off the honeycomb bed can help reduce reflected laser energy and unwanted marks.
-
Use appropriate supports: Make sure your acrylic is stable and properly supported throughout the cutting process.
-
Test before cutting your final project: Every machine, material, and setup can behave differently. I always recommend testing first!
Raising acrylic off the honeycomb is something you can try with many CO₂ lasers, not just the xTool P2.
Just remember to maintain proper focus, ventilation, and safe clearance when adjusting your setup.
My Thoughts on the xTool P2
So far, I've really enjoyed testing acrylic with my xTool P2!
It has been a great addition to my equipment lineup and complements my Aeon Mira 9 and fiber lasers nicely.
Now, does that mean every laser is right for everyone? Absolutely not!
I always encourage people to research their equipment and choose a machine that fits the products they plan to create.
If you're considering an xTool P2, feel free to check it out through my affiliate link below.
Affiliate disclosure: I may earn a commission if you purchase through my affiliate link, at no additional cost to you.
Final Thoughts
If you're struggling with flashback when cutting acrylic, try raising your material off the honeycomb bed and see whether it makes a difference.
It's a simple adjustment that worked beautifully during my testing!
And remember, Creatives, TEST, TEST, TEST! 😂 What works on one machine or material may need adjustments on another.
For more laser engraving tips, projects, and creative inspiration, visit Joiin us at The Laser Outpost facebook Group.
Happy creating! 🙌
